TVR Wishbone Bush Press
Not so pressing now thanks to this bush removal tool which makes making the job much more bearable.
I wanted to change the standard bushes on my Griff for Powerflex ones. Everyone I had spoken to said “Ooh, you’ll need a press for that” (and drew in their breath over their teeth at the same time) or to drill/burn/hacksaw them out. Neither option suited me as I wanted to do some of them in the car and the whole junior hacksaw and drill route just looked far too painful and time consuming so I set about designing my own press.
The end result is not just a normal wind it in and hope tool, it’s designed so that you can use a combination of compression and percussive forces at the same time. In effect that’s a posh way of saying wind the puller pretty bloomin tight and then leather the “Top Hats”! Well not quite, but you get the idea.

The drawings above ( thanks to Davi on PH for the one above ) show what’s needed to get one knocked up by a local engineering shop . The total cost including materials was circa £30-£40 depending on the grade of steel you use. Ordinary mild steel is fine, but after doing a whole car the “top hats” look a little bruised. That said, they’d probably do another two or three cars comfortably.
In addition to the parts on the drawing you’ll need some plain M10 washers, plenty of M10 nuts and at least 1 metre of high tensile M10 threaded rod which you cut up into sections as needed. The high tensile is important, plain mild steel threaded rod can’t quite cope with the amount of torque necessary on the tighter bushes. You will find that the threaded rod and nuts wear out from time to time, just replace them when they do. That would suggest the tool is marginal, and it probably would be without the use of the top hats.
There are a few things that make a huge difference to how easily the bushes come out. First, make sure the threads on the rod are in good condition and regularly cleaned. If they need dressing with a knife edge file, dress them. Any additional torque that goes into turning the nuts is wasted and could be better used in pressing the bush out. Secondly, liberally grease the threads every time you use it. I can’t stress that enough. As soon as you use it dry friction builds up and the threads will start to fail. Thirdly, patience. Tap the “Top Hat” in four quarters then tighten the nuts a little. You’ll soon get a feel for how it works.
When you put the tool on, make sure you align it carefully as it’s possible to apply the force to either side of the housing instead of directly into the bush. As you wind it on the centre of the existing bush will neatly deform out of the way. The knack seems to be wind it up plumber tight initially ie. tight, then another quarter of a turn. Then use a 2lb hammer to tap the top hat and shock the bush. How much force should you need? I found that it was about the same as you’d use to knock in a 6” nail although you soon get a feel for it. Using a combination of tightening and then tapping sooner or later the bush will come out.
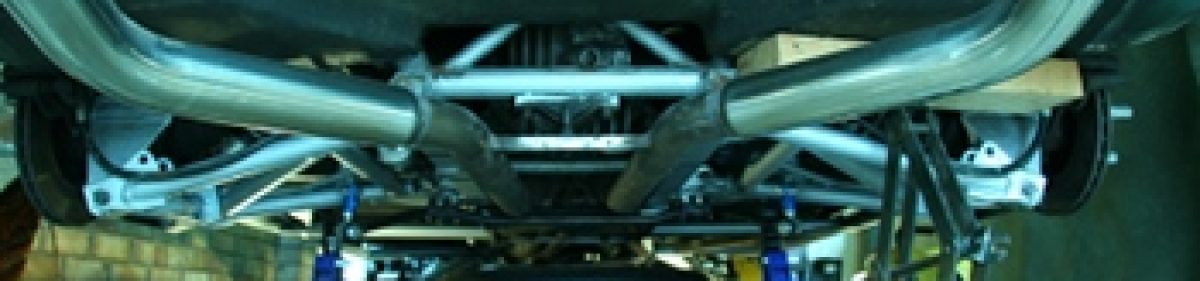
It’s even possible to do the lower rear upright in situ (saves undoing the hub nuts if you decide to do it when the car is in the air). For this though you need to cut a longer section of threaded bar and use the tool on the outer edge of the opposite bush and push the opposing bush inwards towards the hub as the puller won’t quite fit behind the upright. The rather poor picture above shows how it’s done.
I did the entire car using this tool and there wasn’t a single bush it couldn’t shift!
One other use for the tool is that you can reverse it and put the top hat next to the new Powerflex bush and use it to press it home squarely once it’s started. Don’t try to use the tool to push the bush the whole way in as it will go out of square!
That’s it, happy pressing!
Rob